How to sell event tickets on Shopify
Last updated: November 3, 2026
On this page
Short answer
Install EventTix, create an event with its ticket types, and publish it. EventTix creates a normal Shopify product for the event, so buyers check out as usual and get a QR ticket by email as soon as the order is paid.
How it works
Each event becomes a Shopify product. Each ticket type (for example General admission and VIP) becomes a variant, and its capacity becomes the inventory. Shopify stops selling when the inventory runs out, so the event cannot oversell.
Checkout, discounts and payment methods work exactly as they already do in your store. EventTix takes over after payment: it issues the tickets, emails them, and handles check-in at the door.
Create the event
In your Shopify admin, open EventTix → Events → Create event. Fill in the title, description, venue and address, start and end time, and the time zone. Then add one or more ticket types, each with a name, price and capacity.
When you save, EventTix creates the product with one variant per ticket type.
Publish it
A new event starts as a draft. When it is ready, publish it from the event page. This makes the product active so buyers can purchase it.
Send yourself a test ticket
On the event page, use Send test ticket to see the email, PDF and ticket page your buyers will get. Test tickets never count toward your plan.
Share the product
Add the product to your online store, a collection or a menu, or share its link. When an order with tickets is paid, each buyer gets an email with one QR ticket per seat, a printable PDF and a ticket page they can open on their phone. Buyers do not need an account or an app.
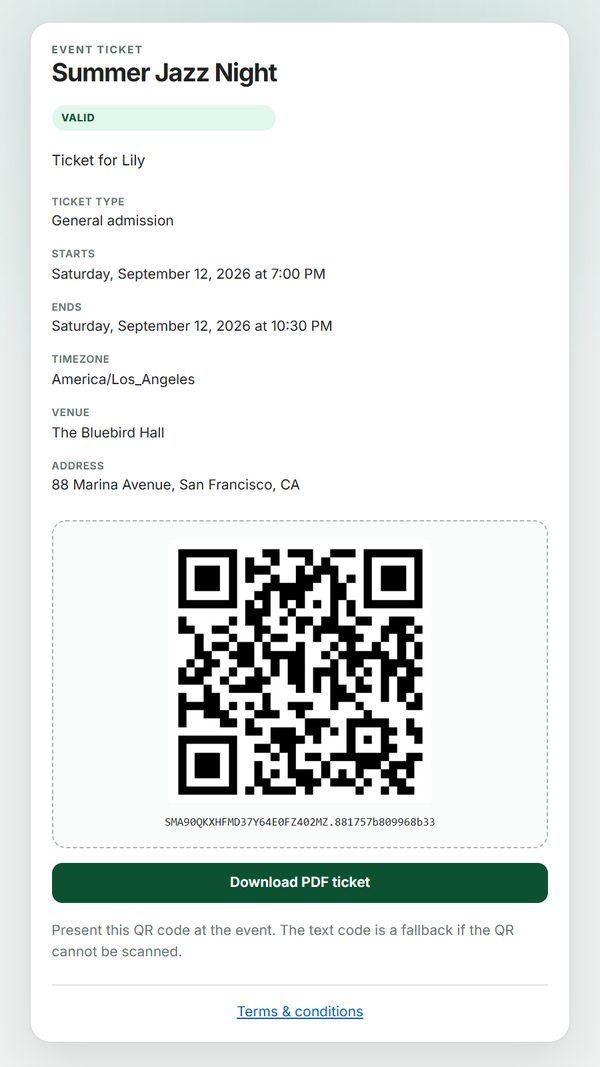
The ticket page a buyer opens from the email (sample data).
Already selling the event as a product?
Keep it. On the create form, choose Use an existing product under ticket types and pick the product. Its variants become your ticket types. EventTix never edits, archives or deletes a product you link, and tickets are issued only after you publish the event.
What to set up next
- Ask each attendee for their name and a question before checkout.
- Create a staff link so your door staff can scan tickets.
- Choose the language of ticket emails and pages.
Still stuck? Email us
Tell us what happened and which step you were on.
We reply within 1 business day (JST).